Your Cart is Empty
Customer Testimonials
-
"Great customer service. The folks at Novedge were super helpful in navigating a somewhat complicated order including software upgrades and serial numbers in various stages of inactivity. They were friendly and helpful throughout the process.."
Ruben Ruckmark
"Quick & very helpful. We have been using Novedge for years and are very happy with their quick service when we need to make a purchase and excellent support resolving any issues."
Will Woodson
"Scott is the best. He reminds me about subscriptions dates, guides me in the correct direction for updates. He always responds promptly to me. He is literally the reason I continue to work with Novedge and will do so in the future."
Edward Mchugh
"Calvin Lok is “the man”. After my purchase of Sketchup 2021, he called me and provided step-by-step instructions to ease me through difficulties I was having with the setup of my new software."
Mike Borzage
V-Ray Tip: Enhancing Realism with V-Ray Displacement Mapping: Techniques for Detailed Surface Creation
March 06, 2024 2 min read

Welcome to today's tip of the day, brought to you by NOVEDGE, your go-to source for design software. Today, we delve into the realm of detailed surface creation using V-Ray Displacement techniques.
Displacement is a powerful feature in V-Ray that allows you to add intricate detail to your models without the need for complex modeling. It works by using a texture map to physically displace the surface geometry, creating realistic bumps and grooves. Here's how to make the most of it:
- Choose the Right Displacement Mode: V-Ray offers two modes of displacement – 2D and 3D. 2D displacement is memory efficient and fast, perfect for subtle surface details. 3D displacement, while more memory-intensive, provides exceptional detail at close range.
- Optimize Texture Maps: High-quality displacement maps are crucial. Use images with sufficient resolution and contrast to achieve the desired level of detail. Consider tools like Photoshop or Substance Designer for creating and tweaking your displacement maps.
- Control the Level of Detail: Use the 'Amount' and 'Shift' parameters to fine-tune the height and baseline of your displacement. 'Edge Length' controls the tessellation of the displaced geometry; lower values yield more detail but also increase render time and memory usage.
- Balance Detail with Performance: While it's tempting to push for the highest level of detail, remember that this comes at a cost of increased render times. Use the 'Max subdivs' parameter to cap the maximum subdivision level and keep render times reasonable.
- Use Displacement Maps Creatively: Displacement isn't just for surface details like brick walls or rocky terrains. It can also create abstract or non-standard surfaces, such as alien skin or intricate engravings.
- Combine with Bump and Normal Maps: For surfaces viewed at a distance where high detail isn't necessary, consider using bump or normal maps in conjunction with displacement. This can save on render time and memory while still delivering visually pleasing results.
- Preview with V-Ray's Interactive Render: Use V-Ray's Interactive Rendering feature to preview your displacement adjustments in real-time. This can significantly speed up your workflow and help you make decisions faster.
- Understand the Material's Scale: The real-world size of the materials significantly impacts the displacement effect. Ensure your textures are correctly scaled to the objects in your scene for the most realistic results.
Displacement mapping can transform your renders, adding a level of detail and realism that can truly impress. Keep practicing and experimenting with these techniques to find the perfect balance for your projects.
For more tips and the latest in V-Ray and other design software, visit NOVEDGE.
```You can find all the V-Ray products on the NOVEDGE web site at this page.
Also in Design News

Bluebeam Tip: Maximize PDF Security and Efficiency with Bluebeam Revu's Flatten Tool
December 02, 2024 1 min read
Read More
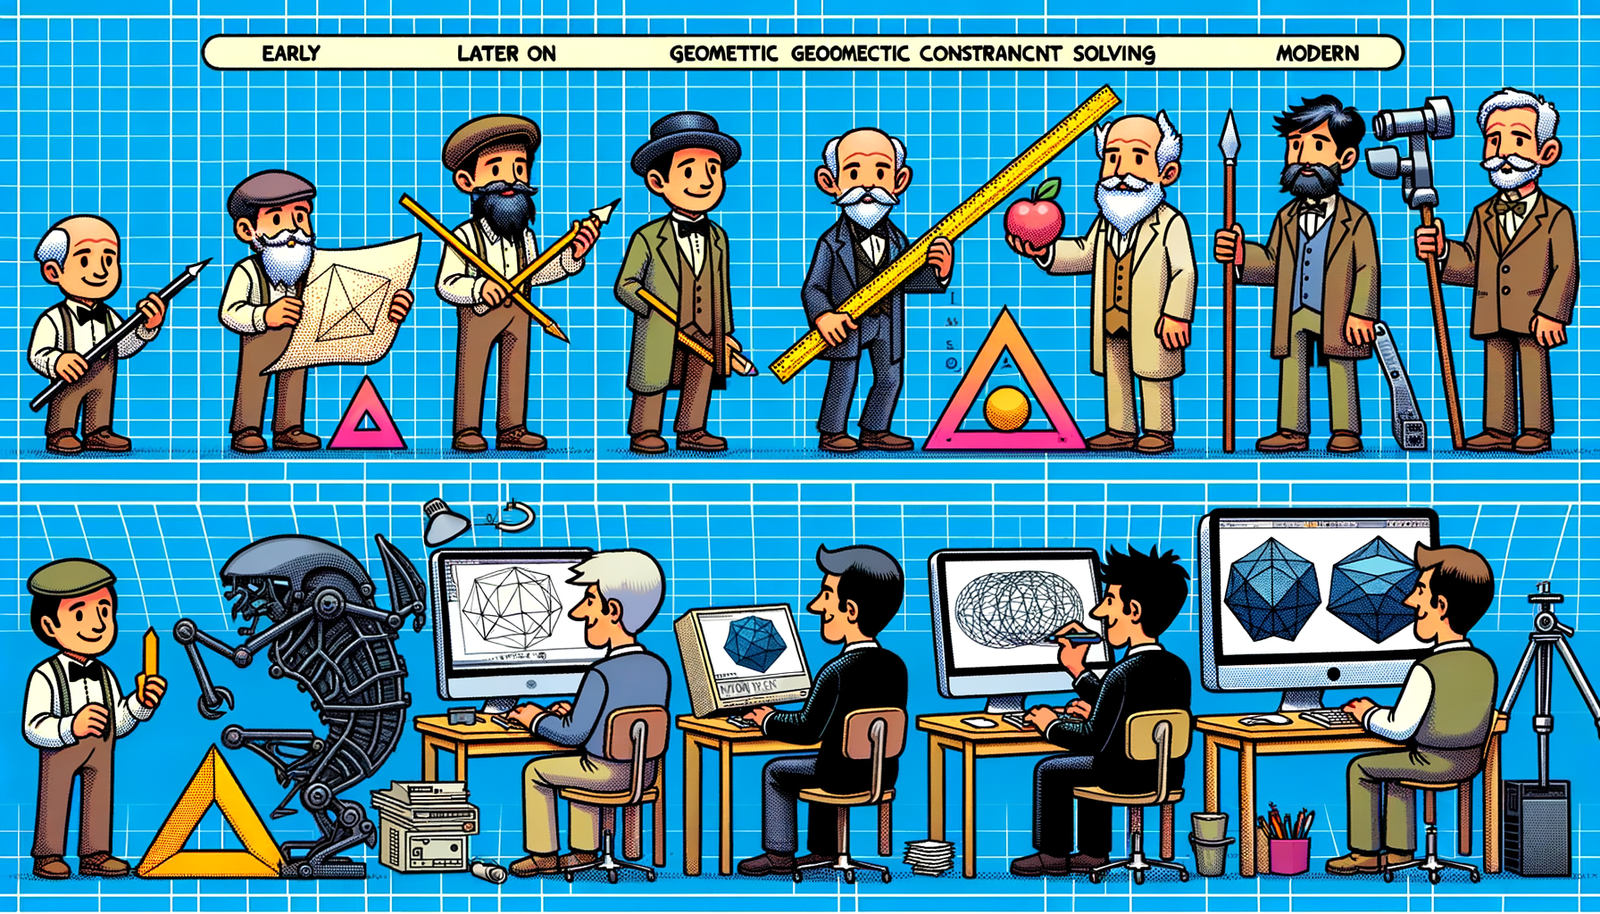
Design Software History: Evolution and Impact of Geometric Constraint Solving in CAD History
December 02, 2024 2 min read
Read More
Rhino 3D Tip: Enhancing Scale Modeling Accuracy in Rhino 3D: Essential Tips for Designers and Engineers
December 02, 2024 2 min read
Read MoreSubscribe
Sign up to get the latest on sales, new releases and more …


