Your Cart is Empty
Rhino 3D Tip: Precision Snapping with Osnaps and SmartTrack
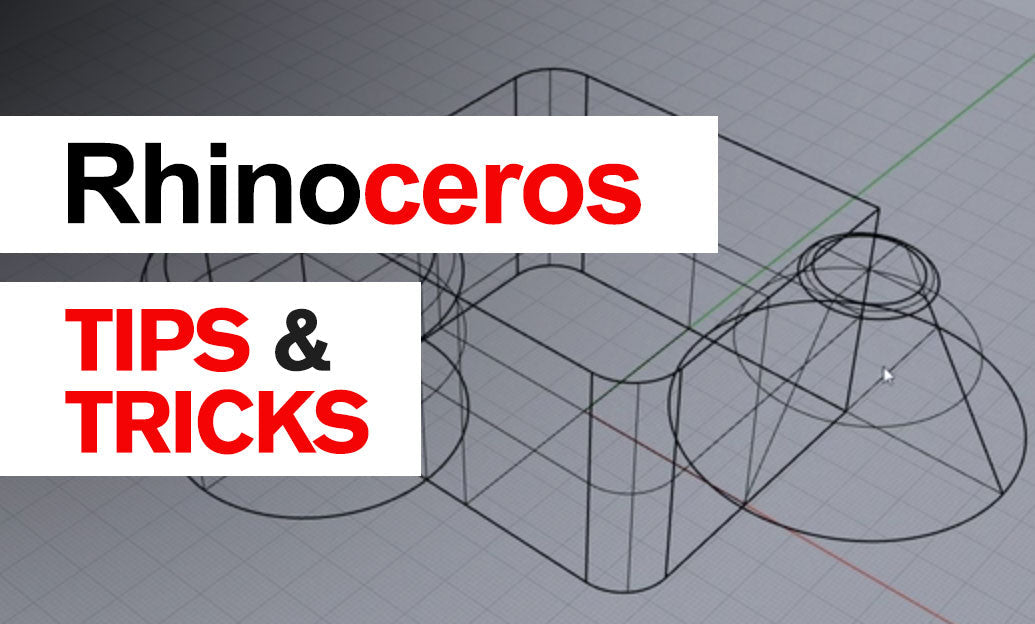

Precise snapping is the backbone of accurate Rhino modeling. Here’s how to combine Object Snaps (Osnaps) to draw and edit with speed and confidence.
Set up a reliable base
- Toggle Osnaps on/off: F3. Keep it on during precision work.
- Start with a lean, stable set: End, Mid, Cen, Int, Perp, Tan. Enable Near or Quad only when needed.
- Adjust snap aperture (Options > Modeling Aids > Object Snaps). A radius around 10–15 px works well; increase slightly on 4K/Retina displays.
- Use Project when drawing on a flat work plane (CPlane). Turn it off for true 3D snapping.
Combine persistent and one-shot snaps
- Persistent snaps are the checkboxes in the Osnap panel. Keep these minimal to reduce “snap noise.”
- One-shot snaps override the next pick without changing your persistent set. Type their names at the prompt or click them in the status bar: End, Mid, Cen, Int, Perp, Tan, Near, Quad, Knot, Vertex.
- High-value one-shots for complex placements:
- Between: snaps to the midpoint between two picked points (not just curve midpoints).
- From: offsets your pick from a snapped base point. Snap a base, type a distance, then choose direction.
- AppInt (Apparent Intersection): finds the 3D intersection implied by two non-coplanar curves as seen in the current view.
Disambiguate and control
- Tab-lock direction after your first snap to keep the cursor constrained while still honoring Osnaps.
- Zoom in when multiple candidates are close; Rhino prioritizes the nearest valid target within the aperture.
- Temporarily disable “busy” snaps (especially Near) when placing endpoints or intersections.
- Use the Selection Filter panel to limit what you can select (e.g., only Curves or only Points), reducing accidental snaps to unwanted sub-objects.
SmartTrack + Osnaps = surgical accuracy
- Turn on SmartTrack (status bar or F11). Hover briefly over meaningful snap points to acquire SmartPoints and alignment lines.
- Use SmartTrack to get on-the-fly perpendiculars, offsets, and intersections with temporary guides, then commit with a one-shot snap.
- Example: Snap End, hover another endpoint to produce a SmartTrack line, then use Perp to lock a clean perpendicular from the first point to that direction.
Surface and curve nuances
- For edges on polysurfaces, Int finds true curve/edge intersections; Perp and Tan respect true geometry, not just visual alignment.
- Use Quad for circular features when locating cardinal points; combine with Cen to validate the circle center before placing holes or features.
Troubleshooting
- If snaps feel “wrong,” check: Disable isn’t active, Project isn’t unintentionally on, and your model isn’t far from the world origin (which can reduce numeric precision).
- Reset to a minimal set, then layer in one-shot snaps as needed.
Pro tip: Build muscle memory—keep a small persistent set, then invoke precision with one-shots (End, From, Between, AppInt) on demand. This approach scales from quick ideation to production-grade modeling.
For Rhino licenses, upgrades, and expert guidance, visit NOVEDGE. Explore more workflow tips and training resources from NOVEDGE and the NOVEDGE Blog.
You can find all the Rhino products on the NOVEDGE web site at this page.
Also in Design News


