Your Cart is Empty
Rhino 3D Tip: Optimizing Custom Lighting for Enhanced Rhino 3D Model Presentation
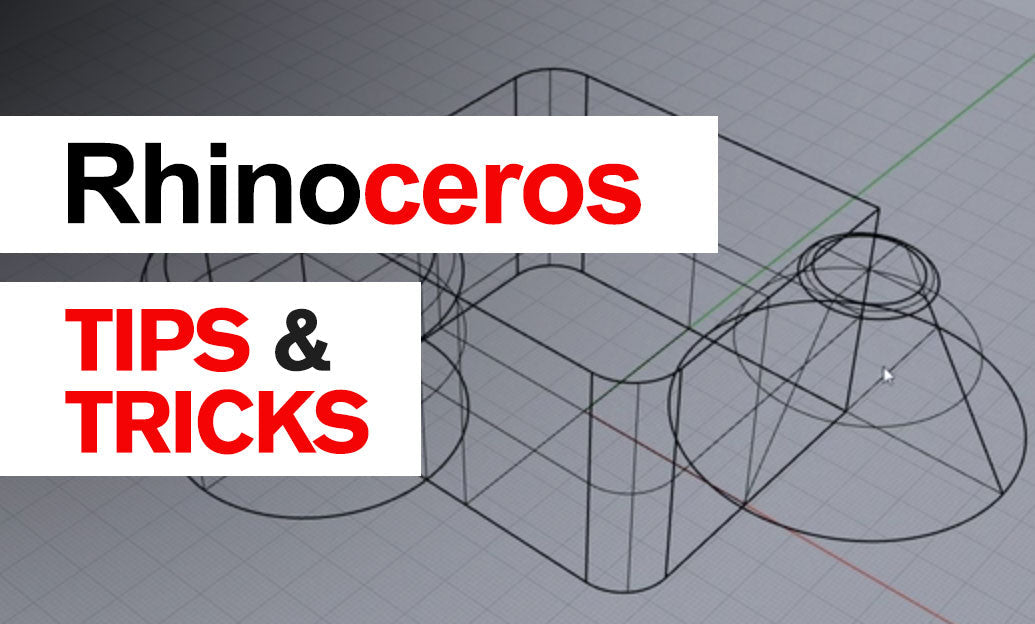

Custom lighting is a key element in presenting your Rhino 3D models with clarity and impact. While the default lighting setups can get you started, tailoring your own configuration expands creative possibilities and helps showcase details that might otherwise be overlooked. Below is a concise approach to creating your own lighting setup while maintaining an efficient workflow.
- Evaluate Your Model’s Requirements: Before adding any lights, consider the size of your model, the level of detail you want to highlight, and the final presentation method (renders, real-time walkthroughs, or animations). This assessment informs the type and number of lights you will use, preventing unnecessary complexity.
- Select the Appropriate Light Type: Rhino offers different types of lights, such as Point, Spot, Directional, and Rectangular lights. Pick a type that best suits the style you intend to create. A Spotlight can be ideal for focusing on specific areas, whereas a Rectangular or Directional light can evenly illuminate broader regions.
- Adjust Intensity and Color: Once you place your light, fine-tune the brightness (wattage or lumens) and color. Warmer lights (more yellow or orange) can create a cozy, inviting atmosphere, while cooler lights (blueish tones) evoke a modern or high-tech setting. A balanced and realistic look usually comes from layering multiple light sources at varying intensities.
- Use Environment Settings: Go beyond simple lights by configuring an Environment Map in Rhino’s Render Settings. This approach includes high dynamic range imaging (HDRI) to give your scene realistic reflections and overall ambient lighting. Experiment with different HDRIs to see how they affect shadows, highlights, and color grading.
- Refine Shadow Attributes: High-quality shadows can dramatically enhance depth and realism. In the Properties panel, refine the shadow softness, transparency, and color to highlight important design features without compromising clarity. If you notice overly strong or harsh shadows, lower the intensity or adjust the angle of the light.
- Work With Render Modes: Switch between different display modes—like Rendered and Raytraced—to gauge the appearance of your lighting in real time. Steady refinement in these modes will save time by letting you see the immediate impact of any change, instead of running multiple full-resolution renders.
- Save Your Configuration: If you find a lighting setup that complements various projects, store it as a template or save the file with default lighting conditions. This approach saves time in the long run and helps maintain consistent results across multiple projects.
- Leverage Additional Resources: When you require specialized lighting scenarios or need advanced rendering plugins, visit NOVEDGE. You’ll find an array of tools to enhance lighting accuracy and push the boundaries of your visual output.
Custom lighting not only adds aesthetic appeal but also reveals specific design features that might get lost under generic conditions. By choosing the right light types, adjusting their attributes, and incorporating environmental effects, you raise the quality and presentation of your Rhino models significantly. Whenever you feel the need to elevate your lighting approach or integrate new software into your workflow, tapping into the resources at NOVEDGE can help you refine your process and achieve a polished final result.
You can find all the Rhino products on the NOVEDGE web site at this page.
Also in Design News