Your Cart is Empty
Customer Testimonials
-
"Great customer service. The folks at Novedge were super helpful in navigating a somewhat complicated order including software upgrades and serial numbers in various stages of inactivity. They were friendly and helpful throughout the process.."
Ruben Ruckmark
"Quick & very helpful. We have been using Novedge for years and are very happy with their quick service when we need to make a purchase and excellent support resolving any issues."
Will Woodson
"Scott is the best. He reminds me about subscriptions dates, guides me in the correct direction for updates. He always responds promptly to me. He is literally the reason I continue to work with Novedge and will do so in the future."
Edward Mchugh
"Calvin Lok is “the man”. After my purchase of Sketchup 2021, he called me and provided step-by-step instructions to ease me through difficulties I was having with the setup of my new software."
Mike Borzage
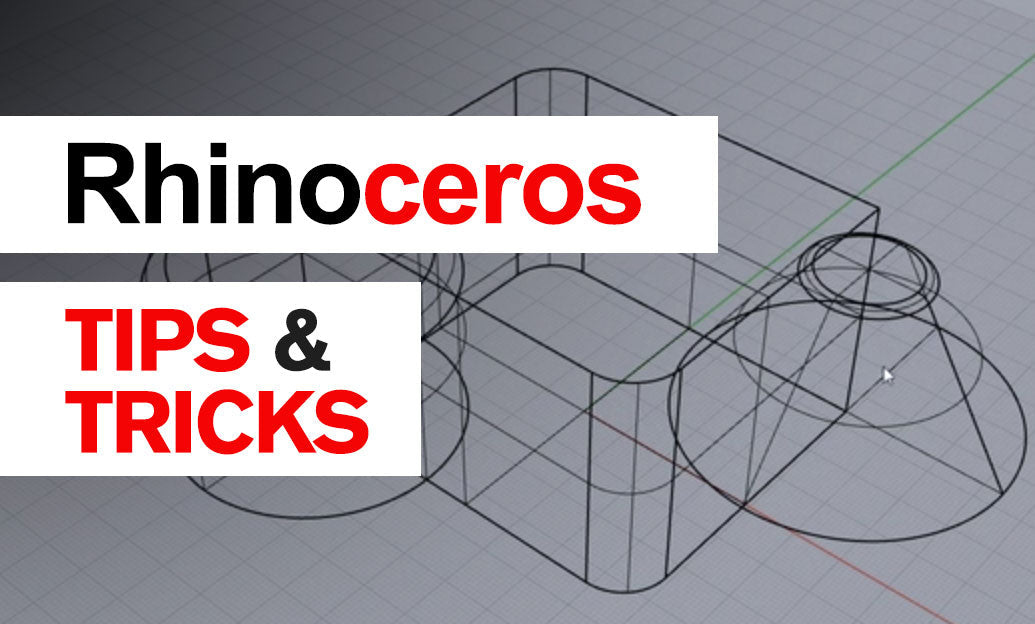
Rhino 3D Tip: Optimizing 3D Printing in Rhino: Essential Tips for Model Preparation
April 14, 2025 2 min read

The 3D Print command in Rhino is essential for preparing your models for successful 3D printing. It streamlines the process by providing tools to analyze, repair, and export your designs in a printer-friendly format. To make the most out of this feature, consider the following tips:
- Ensure Watertight Models: A watertight (manifold) model is crucial for 3D printing. Use the ShowEdges command to identify naked edges that could cause holes in your model. Close these gaps by joining edges or rebuilding surfaces to create a solid polysurface.
- Convert NURBS to Mesh: Since most 3D printers use mesh data, convert your NURBS model to a mesh using the Mesh command. Adjust mesh settings to balance between detail and file size. A finer mesh captures more details but increases the file size.
- Analyze Mesh Quality: Use CheckMesh to inspect your mesh for issues like non-manifold edges, degenerate faces, or duplicate vertices. Identifying these problems early prevents printing errors later on.
- Repair Mesh Issues: Utilize the MeshRepair tool to fix common mesh problems. For more complex repairs, consider using commands like FillMeshHoles, ExtractMeshPart, and Weld to manually correct defects.
- Scale and Units: Confirm that your model is in the correct scale and units required by your 3D printer. Use the Distance command to measure critical dimensions and ensure accuracy.
- Use 3D Print Preview: The 3D Print command offers a preview that helps you visualize how your model will print. It highlights potential issues like overhangs or thin walls, allowing you to adjust the design accordingly.
- Optimize Wall Thickness: Ensure all parts of your model meet the minimum wall thickness specified by your printer. Thin walls may fail to print or be too fragile. Adjust your design to reinforce these areas.
- Address Overhangs and Supports: Identify overhangs that may require support structures during printing. Modify your design to minimize the need for supports, or plan for their inclusion in the printing process.
- Simplify the Mesh: An overly complex mesh can cause issues during printing. Use the ReduceMesh command to decrease the polygon count without significantly losing detail, making the file more manageable.
- Export Correct File Format: Save your mesh in a format compatible with your 3D printer, such as STL, OBJ, or 3MF. Use the Export command and select the appropriate file type. For STL files, choose between ASCII or Binary based on your needs.
- Verify in Slicer Software: After exporting, open the file in your slicer software to check for any anomalies. This step helps catch issues that might not be apparent in Rhino but could affect the printing process.
Implementing these practices ensures a smoother transition from design to printed model, reducing errors and material waste. For more advanced techniques and resources, explore NOVEDGE, your partner for professional 3D modeling solutions.
You can find all the Rhino products on the NOVEDGE web site at this page.
Also in Design News

Embracing Data-Driven Design: Revolutionizing Product Development with Advanced Analytics
October 02, 2025 12 min read
Read More
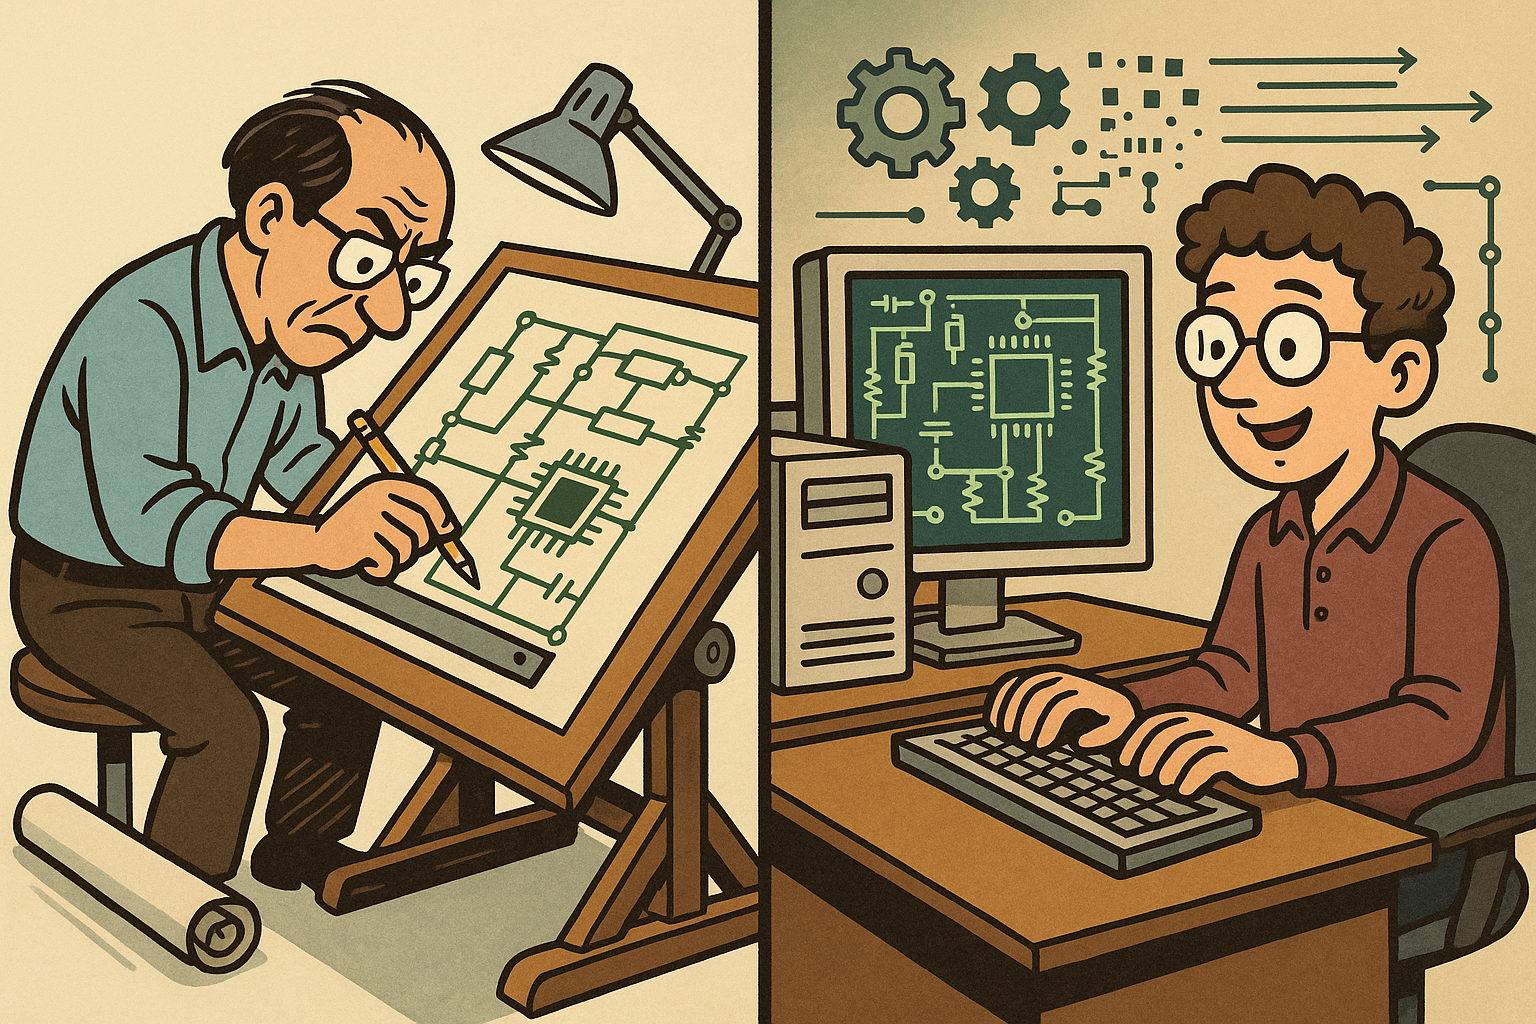
Design Software History: Early Electronics CAD: From Manual Drafting to Algorithm-Driven Design and Its Impact on the Industry
October 02, 2025 10 min read
Read More
Cinema 4D Tip: Streamline Scene Management in Cinema 4D with the Stage Object
October 02, 2025 3 min read
Read MoreSubscribe
Sign up to get the latest on sales, new releases and more …


