Your Cart is Empty
Customer Testimonials
-
"Great customer service. The folks at Novedge were super helpful in navigating a somewhat complicated order including software upgrades and serial numbers in various stages of inactivity. They were friendly and helpful throughout the process.."
Ruben Ruckmark
"Quick & very helpful. We have been using Novedge for years and are very happy with their quick service when we need to make a purchase and excellent support resolving any issues."
Will Woodson
"Scott is the best. He reminds me about subscriptions dates, guides me in the correct direction for updates. He always responds promptly to me. He is literally the reason I continue to work with Novedge and will do so in the future."
Edward Mchugh
"Calvin Lok is “the man”. After my purchase of Sketchup 2021, he called me and provided step-by-step instructions to ease me through difficulties I was having with the setup of my new software."
Mike Borzage
Rhino 3D Tip: Enhancing 3D Model Realism through Effective Lighting Techniques in Rhino 3D
August 02, 2025 3 min read

Lighting is a foundational aspect of rendering in Rhino. By strategically placing and adjusting sources of illumination, you can dramatically enhance the realism and depth of your 3D models. Proper lighting highlights form, texture, and details that might otherwise go unnoticed. Whether you are creating quick concept visuals or embarking on hyper-realistic renders, understanding the fundamentals of lighting will boost both efficiency and quality.
One key idea when working with lighting in rendering is striking a good balance between brightness, contrast, and coloration. While bright lights might show detail well, excessive intensity can blow out certain areas, leading to loss of detail. On the other hand, insufficient light might hide critical design elements. Rhino’s rendering settings provide quick controls for intensity and color temperature, so be prepared to tweak these values for optimal results. Higher color temperatures can appear cooler (bluish), while lower color temperatures look warmer (yellowish). A meticulous adjustment of these parameters will produce more accurate, visually appealing outcomes.
- Use multiple light sources: Relying on one omnipresent light can flatten your scene. Introducing multiple lights at different intensities and angles ensures your assets are highlighted from various perspectives, enhancing depth.
- Experiment with light types: Rhino offers a variety of lights, such as directional, point, spot, and rectangular lights. Each has distinct properties for distributing illumination. Spotlights are excellent for highlighting specific regions, while rectangular lights create soft, even illumination for product shots.
- Adjust shadows carefully: Shadows help convey a sense of realism. Play with shadow softness and direction to reveal geometry details. Sharp shadows can provide drama, whereas softer ones appear more natural in certain scenes.
- Simulate real-world lighting: For architectural models or interior scenes, replicate the effect of sunlight or artificial indoor lights. Position your sun angle according to geographic data and time of day to achieve photographs that look convincingly real.
- Optimize your environment settings: Incorporate environment maps or HDR images to give your model a realistic backdrop and global illumination. Balanced environment lighting often makes a significant difference in portrayal.
In addition to direct light manipulation, you should factor the material properties of the objects into your scene. Reflective materials can amplify or diffuse light, while more matte surfaces produce subtle highlights. If you find that you need specialized renders or advanced hardware solutions, remember that NOVEDGE offers dedicated resources and tailored recommendations for designers.
Finally, test different render presets and tweak exposure or clarity settings in Rhino’s rendering engine. Small adjustments can significantly change how shadows and highlights behave. A direct comparison between different test renders will let you decide on the best approach to lighting. Adopting an iterative approach also helps you learn faster, enabling you to apply new insights as you refine your scenes. If you wish to explore additional plugins or tools for more complex lighting challenges, consider visiting NOVEDGE to discover a range of compatible options.
By devoting sufficient time to fine-tuning your lighting, you elevate the impact of your work and give viewers a clear understanding of shape, material, and function. Take advantage of Rhino’s flexible rendering environment and remember to consistently preview, test, and refine your light settings. With these fundamentals, you will find it easier to approach more advanced illumination techniques as you grow more comfortable and skilled in Rhino’s ecosystem.
You can find all the Rhino products on the NOVEDGE web site at this page.
Also in Design News

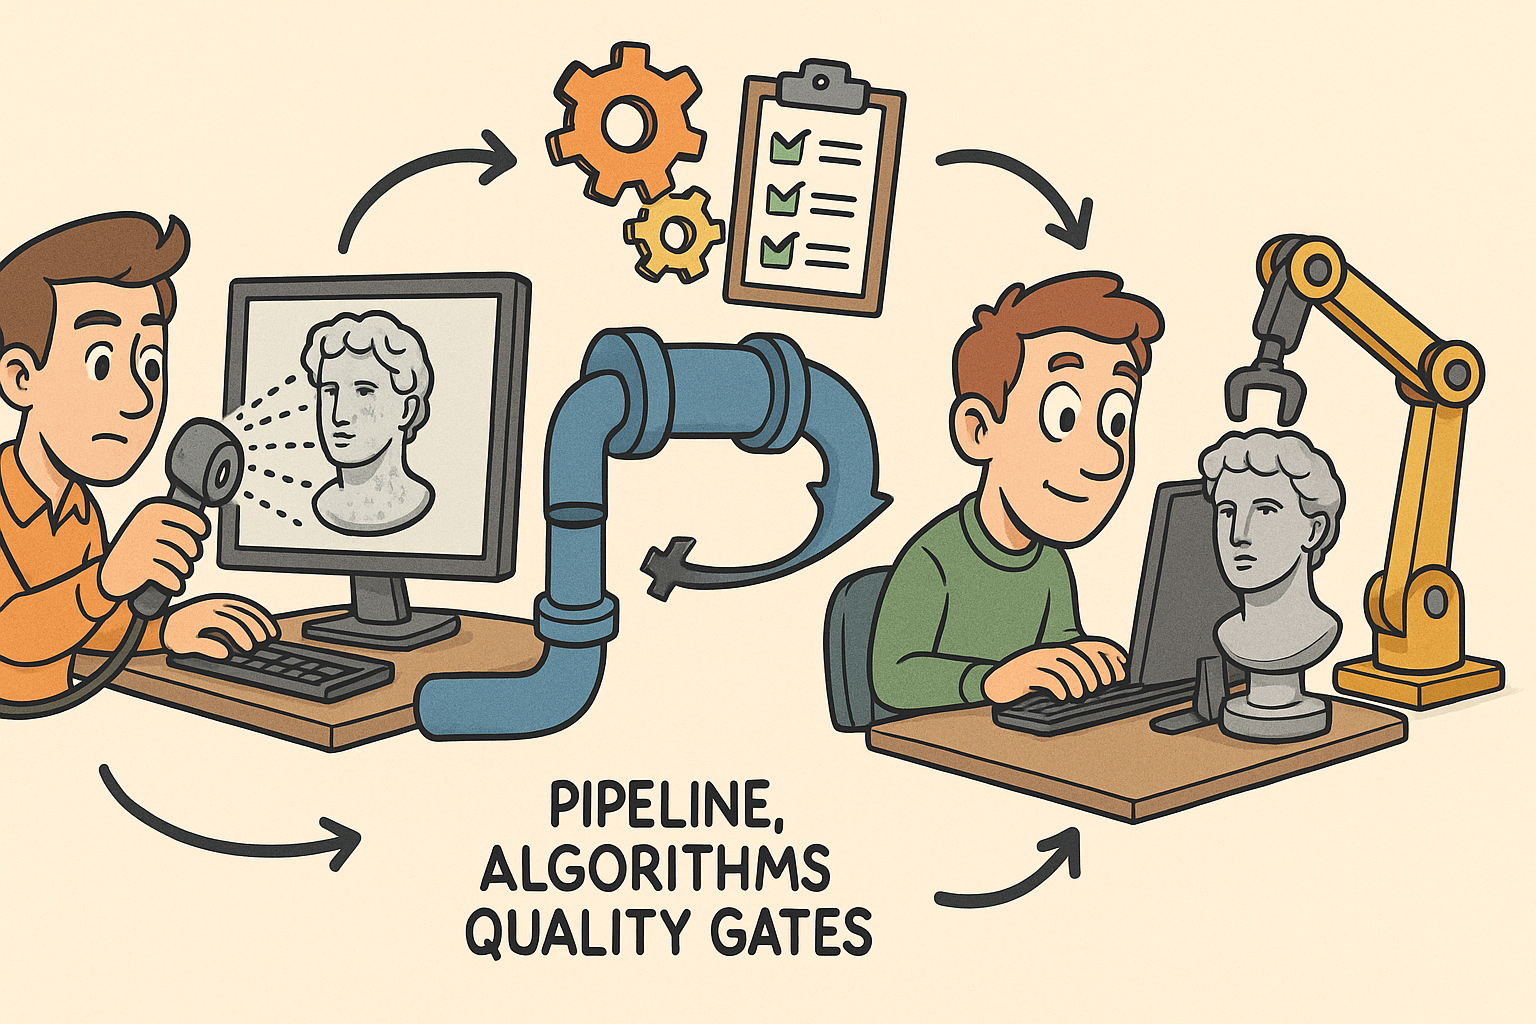
From Raw Scans to Manufacture-Ready Geometry: Pipeline, Algorithms, and Quality Gates
December 08, 2025 13 min read
Read More
Design Software History: Numerical Robustness in Geometry Kernels: History, Failure Modes, and Engineering Playbook
December 08, 2025 13 min read
Read More
Cinema 4D Tip: Reusable Cinema 4D Camera Rig Presets for Faster Shot Setup
December 08, 2025 2 min read
Read MoreSubscribe
Sign up to get the latest on sales, new releases and more …


