Your Cart is Empty


Rhino 3D Tip: Create Surfaces and Solids with ExtrudeCrv in Rhino
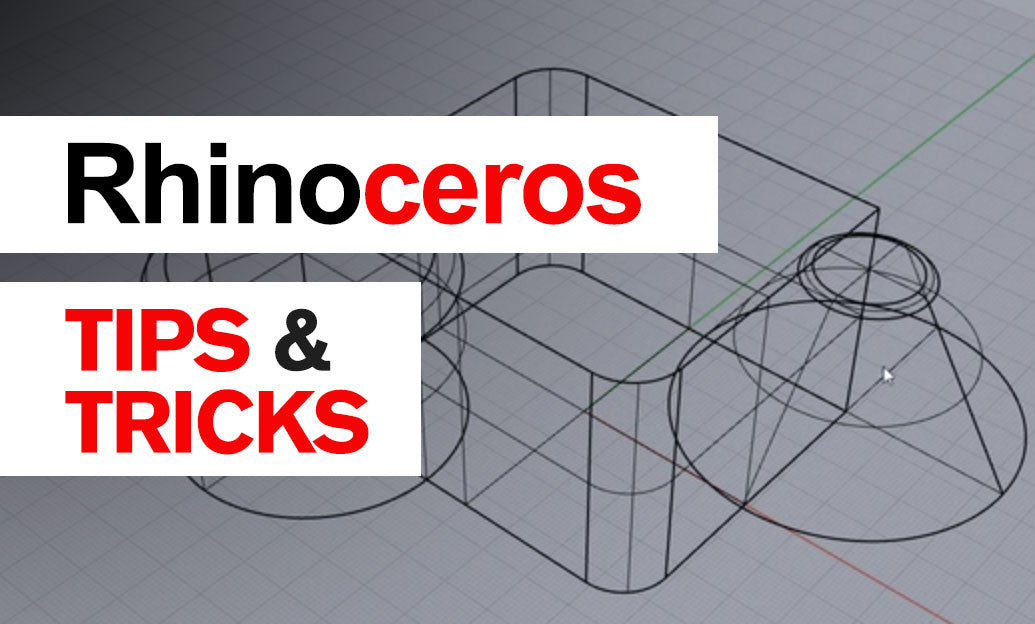

Use ExtrudeCrv to turn a curve into a straight-sided surface—or a closed solid when the profile allows it. This is a fast, dependable approach for walls, brackets, panels, lettering, and other constant-section components.
The key is to prepare the profile, control the extrusion direction, and deliberately choose whether the result should be open or capped.
Start with a clean profile
- For an open surface: Select an open curve, such as a line, arc, or freeform profile. Extruding it creates a surface without enclosing a volume.
- For a solid: Use a closed, planar curve without self-intersections. A rectangle, circle, or properly joined outline is a reliable starting point.
-
For segmented outlines: Run
Join, then confirm that the result is closed in Properties. Curves that merely appear connected may still contain small gaps.
Follow a controlled extrusion workflow
- Select the profile and run
ExtrudeCrv. - Review the command-line options before accepting the result.
- Set
Solid=Nowhen you need only the side surface, orSolid=Yeswhen a closed planar profile should produce a capped object. - Enter an exact extrusion distance instead of estimating with the cursor.
- Inspect the result in Perspective and an orthographic viewport to confirm its position and direction.
Pay attention to these useful options
-
Direction: Define the extrusion vector with two points when the default direction is unsuitable. Use object snaps to align it accurately with existing geometry. -
BothSides: Extend the extrusion to both sides of the original profile. Check the resulting overall dimension rather than assuming the entered distance represents the total thickness. -
DeleteInput: Keep the source curve when you expect design changes. Place retained profiles on a dedicated layer so they remain easy to locate.
Try a practical example
Draw a 120 × 80 mm rectangle in the World Top construction plane. Run ExtrudeCrv, choose Solid=Yes, leave BothSides=No, and enter 12 mm. You now have a simple plate blank. Keep the rectangle if you want a reusable profile, but remember that retaining it alone does not establish an automatic update relationship.
For a wall-like result instead, repeat the operation with Solid=No. The same rectangle produces an open-ended sleeve rather than a capped block. This distinction matters when preparing geometry for downstream Boolean operations, fabrication, or visualization.
Verify before moving on
- Use
Whator Properties to inspect the object type and whether it is closed. - If capping fails, check profile planarity, closure, and self-intersections before changing document tolerance.
- For surface or polysurface results, use
ShowEdgesto locate unexpected naked edges. - Remember that Rhino may create a lightweight extrusion object. Keep that efficient representation unless a downstream operation specifically requires conversion with
ConvertExtrusion.
Professional habit: Name source-profile layers clearly and lock them after modeling. Separating construction curves from finished geometry reduces accidental selection and makes revisions easier to manage.
For Rhino software and additional learning resources, explore NOVEDGE. Build this simple extrusion workflow into your daily practice before progressing to more complex surface construction.
You can find all the Rhino products on the NOVEDGE web site at this page.
Also in Design News