
Your Cart is Empty


Rhino 3D Tip: Create Clean, Editable 2D Drawings from Rhino Models with Make2D
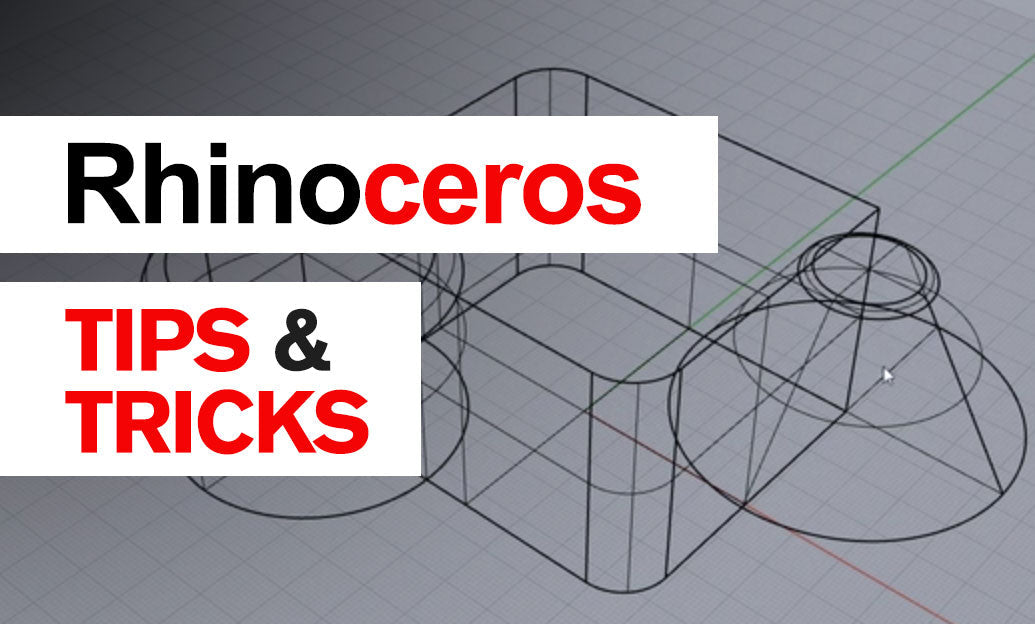

Make2D converts your 3D Rhino model into editable 2D linework from the active viewport or a selected projection. It is one of the most practical commands for producing fabrication drawings, presentation elevations, plans, and technical documentation without manually tracing every edge.
To begin, set the viewport to the exact view you need: Top for plans, Front or Right for elevations, or Parallel for an axonometric drawing. Select the objects to document, then run Make2D. Rhino creates curves representing visible and, if requested, hidden edges based on that view.
- Use Parallel projection for technical drawings. Perspective views can be useful for illustrative output, but Parallel projection produces dependable orthographic linework for dimensions and scale-based layouts.
-
Make the viewport intentional before running the command. Camera angle, projection type, object visibility, and clipping all influence the result. A saved
NamedViewis helpful when documentation must be updated later. - Select only what belongs in the drawing. Hide reference geometry, construction curves, alternate design options, and unnecessary context before generating linework. A clean selection produces a cleaner Make2D result.
The Make2D options determine how useful the output will be. For most documentation, enable Maintain source layers so generated curves inherit a logical layer structure from the model. This is particularly valuable when walls, furniture, glazing, hardware, or mechanical components need different line weights downstream.
- Show hidden lines: Enable this for mechanical parts, assemblies, or drawings where obscured features must be communicated. Keep it off for cleaner architectural elevations or presentation graphics.
- Tangent edges: Consider disabling tangent edges when drawing smooth forms. This avoids unnecessary seam-like lines across fillets, cylinders, and blended surfaces.
- Scene silhouette: Enable it when the overall outline is important. Silhouettes help an object read clearly, especially in product-design and presentation drawings.
- Group output: Keep the output grouped initially. This makes it easier to move, inspect, and organize the generated drawing before editing individual curves.
After Make2D runs, Rhino places the results on the active construction plane, typically as a grouped set of curves. Do not immediately dimension the output. First, perform a quick cleanup pass:
- Move the drawing to a dedicated documentation layer.
- Use
SelDupto locate duplicate curves. - Use
Joinwhere segments should read as continuous outlines. - Remove small fragments, unwanted isocurves, and visual clutter.
- Assign line types and print widths by layer, rather than styling individual curves.
Make2D linework is not automatically associative with the original model. If the 3D geometry changes, rerun Make2D from the same saved view rather than trying to repair an outdated drawing manually. Maintaining a predictable layer system and retaining your source model selection makes this update process much faster.
For sheets, place the cleaned linework in a Rhino Layout, create detail views at the required scale, and add dimensions, hatches, leaders, and notes using annotation styles. This workflow keeps the 3D model, drawing output, and printable documentation inside one Rhino file.
For Rhino licenses, training resources, and workflow tools, visit NOVEDGE’s Rhino 3D collection. A disciplined Make2D workflow turns a well-built model into clear, editable documentation with far less repetitive drafting.
You can find all the Rhino products on the NOVEDGE web site at this page.
Also in Design News






