Your Cart is Empty


Rhino 3D Tip: Choosing Rhino Viewport Display Modes for Effective Modeling
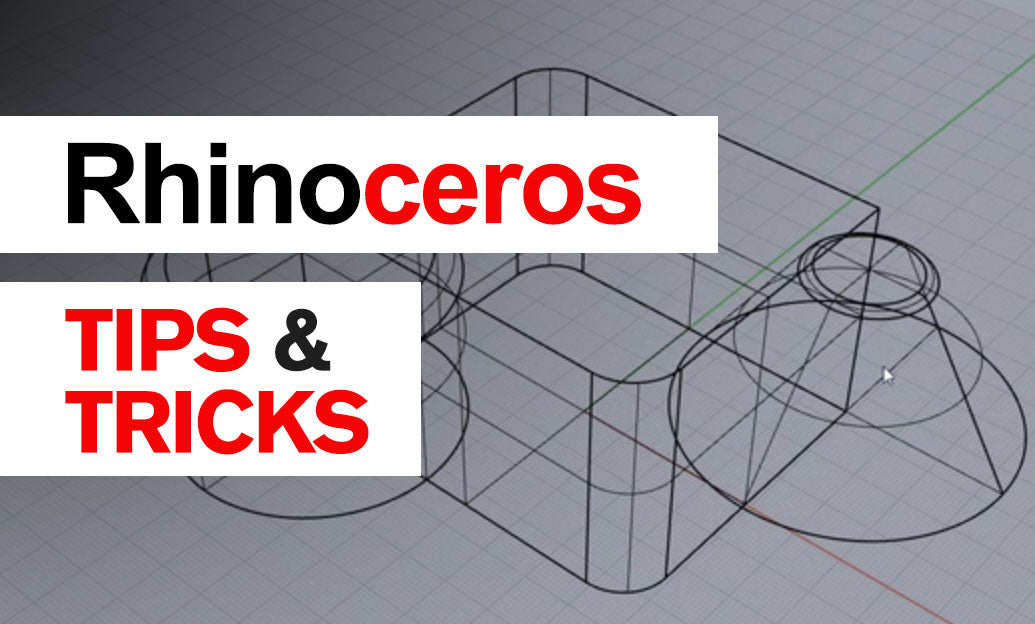

Switch viewport display modes deliberately as you model. In Rhino, each mode emphasizes different information, helping you evaluate geometry, navigate complex assemblies, and communicate design intent without changing the underlying objects.
Click the viewport title, such as Perspective, and choose a display mode from its menu. The change applies to that viewport, so you can keep different visual settings in your Top, Front, Right, and Perspective views.
- Wireframe: Use it when drawing curves, selecting geometry behind surfaces, or checking relationships between components. Because surfaces do not obscure objects behind them, overlapping edges can become visually crowded. Hide unrelated layers when the view becomes difficult to read.
- Shaded: Make this your everyday modeling mode. Surface shading helps reveal overall form, while visible edges support editing. Rotate the model frequently: a shape that looks correct from one direction may reveal an unexpected transition from another.
- Ghosted: Switch to this transparent display when inspecting nested parts or internal relationships. It provides more surface context than Wireframe while allowing you to see through objects. Treat it as a visual aid, not a substitute for intersection or clearance checks.
- Rendered: Preview materials, textures, and lighting while developing a presentation. Its appearance depends on your material and environment settings. Use it to assess design intent, but remember that it is not equivalent to a fully converged raytraced image.
-
Technical or Pen: Explore these modes for diagrammatic communication. Their edge-focused appearance can clarify assemblies and silhouettes. They change viewport appearance; they do not automatically create editable linework. Use
Make2Dwhen you need generated drawing curves.
Build a practical two-view workflow. Keep an orthographic viewport in Wireframe for precise curve work and a Perspective viewport in Shaded for form evaluation. Before approving a change, inspect it in both. This simple habit helps prevent attractive perspective views from masking alignment problems.
Customize a copy, not your baseline. Open Rhino’s settings and find View > Display Modes. Duplicate an existing mode, give the copy a descriptive name, and adjust its appearance. Exact settings and navigation can vary by Rhino version and operating system.
- Choose a neutral background to reduce distraction during surface evaluation.
- Adjust edge visibility and thickness so boundaries remain readable without overpowering the model.
- Reduce unnecessary visual effects if navigation becomes sluggish in large files.
- Test changes on a representative model before adopting the mode across projects.
Know the diagnostic limits. A smooth-looking shaded surface is not proof of continuity, and visible seams do not necessarily indicate an open polysurface. Use Zebra to evaluate reflection continuity and ShowEdges to investigate naked edges. Display modes guide inspection; analysis tools answer specific geometric questions.
For a quick daily exercise, inspect one component in Wireframe, Shaded, and Rendered. Note what each reveals, then choose your working mode based on the task rather than habit. For Rhino software options and additional learning resources, explore NOVEDGE. Keep NOVEDGE bookmarked as you refine a clearer, more efficient modeling workflow.
You can find all the Rhino products on the NOVEDGE web site at this page.
Also in Design News