Your Cart is Empty
Customer Testimonials
-
"Great customer service. The folks at Novedge were super helpful in navigating a somewhat complicated order including software upgrades and serial numbers in various stages of inactivity. They were friendly and helpful throughout the process.."
Ruben Ruckmark
"Quick & very helpful. We have been using Novedge for years and are very happy with their quick service when we need to make a purchase and excellent support resolving any issues."
Will Woodson
"Scott is the best. He reminds me about subscriptions dates, guides me in the correct direction for updates. He always responds promptly to me. He is literally the reason I continue to work with Novedge and will do so in the future."
Edward Mchugh
"Calvin Lok is “the man”. After my purchase of Sketchup 2021, he called me and provided step-by-step instructions to ease me through difficulties I was having with the setup of my new software."
Mike Borzage
Revit Tip: Mastering Topography in Revit for Enhanced Landscape Design
June 01, 2024 2 min read

Understanding and accurately representing the natural terrain in your Revit projects is crucial, especially for landscape architects and civil engineers. Here's how you can master topography in Revit to create compelling landscape designs:
- Start with Existing Topography: Begin by importing a topographic survey into Revit to ensure accuracy. You can use the 'Link CAD' feature to bring in DWG files or generate a toposurface using point cloud data.
- Create a Toposurface: Use the 'Create from Import' option to select points from linked CAD files. Alternatively, you can also use the 'Place Point' tool to manually input points and define the site's contours.
- Edit Toposurface: Modify the toposurface to fit your project needs. The 'Edit Surface' tool allows you to add or delete points, and the 'Raise/Lower' tool can adjust elevation points to create hills or depressions.
- Subregions and Split Surfaces: Define different areas within your topography using 'Subregion' to represent pathways, roads, or different terrain types. Use 'Split Surface' to create separate surfaces that can have distinct material applications or grading.
- Grading the Site: Revit's 'Graded Region' feature allows you to reshape the terrain for building pads, parking lots, or other designed landscapes. Proper grading is essential for water runoff and site planning.
- Add Site Components: Populate your landscape with trees, shrubs, site furniture, and hardscape elements. You can find these components in the Revit library or from third-party resources like NOVEDGE.
- Use Massing for Larger Terrains: If you're working with extensive landscapes, consider using the 'Massing' tool to create large landforms. This can be helpful for visualizing the overall mass and scale of the terrain in relation to your project.
- Analyze Topography: Take advantage of Revit's analysis tools to assess the environmental impact of your design. Look at sunlight and shadow patterns, wind direction, and line of sight analysis to inform your design decisions.
- Collaborate with Civil Engineers: For complex sites, collaborate with civil engineering professionals to ensure that the topography works with infrastructure requirements. Use Revit's worksharing features for seamless collaboration.
- Document and Present: Finally, create sections, elevations, and 3D views to document and present your topographic design. Ensure that contours are labeled and the topography is accurately represented in all your drawings.
By mastering topography in Revit, you can ensure that the natural landscape is an integral part of your project from start to finish. Don’t forget to explore third-party resources like NOVEDGE to enhance your Revit toolkit for even more advanced landscape design capabilities.
You can find all the Revit products on the NOVEDGE web site at this page.
Also in Design News

Bluebeam Tip: Maximize PDF Security and Efficiency with Bluebeam Revu's Flatten Tool
December 02, 2024 1 min read
Read More
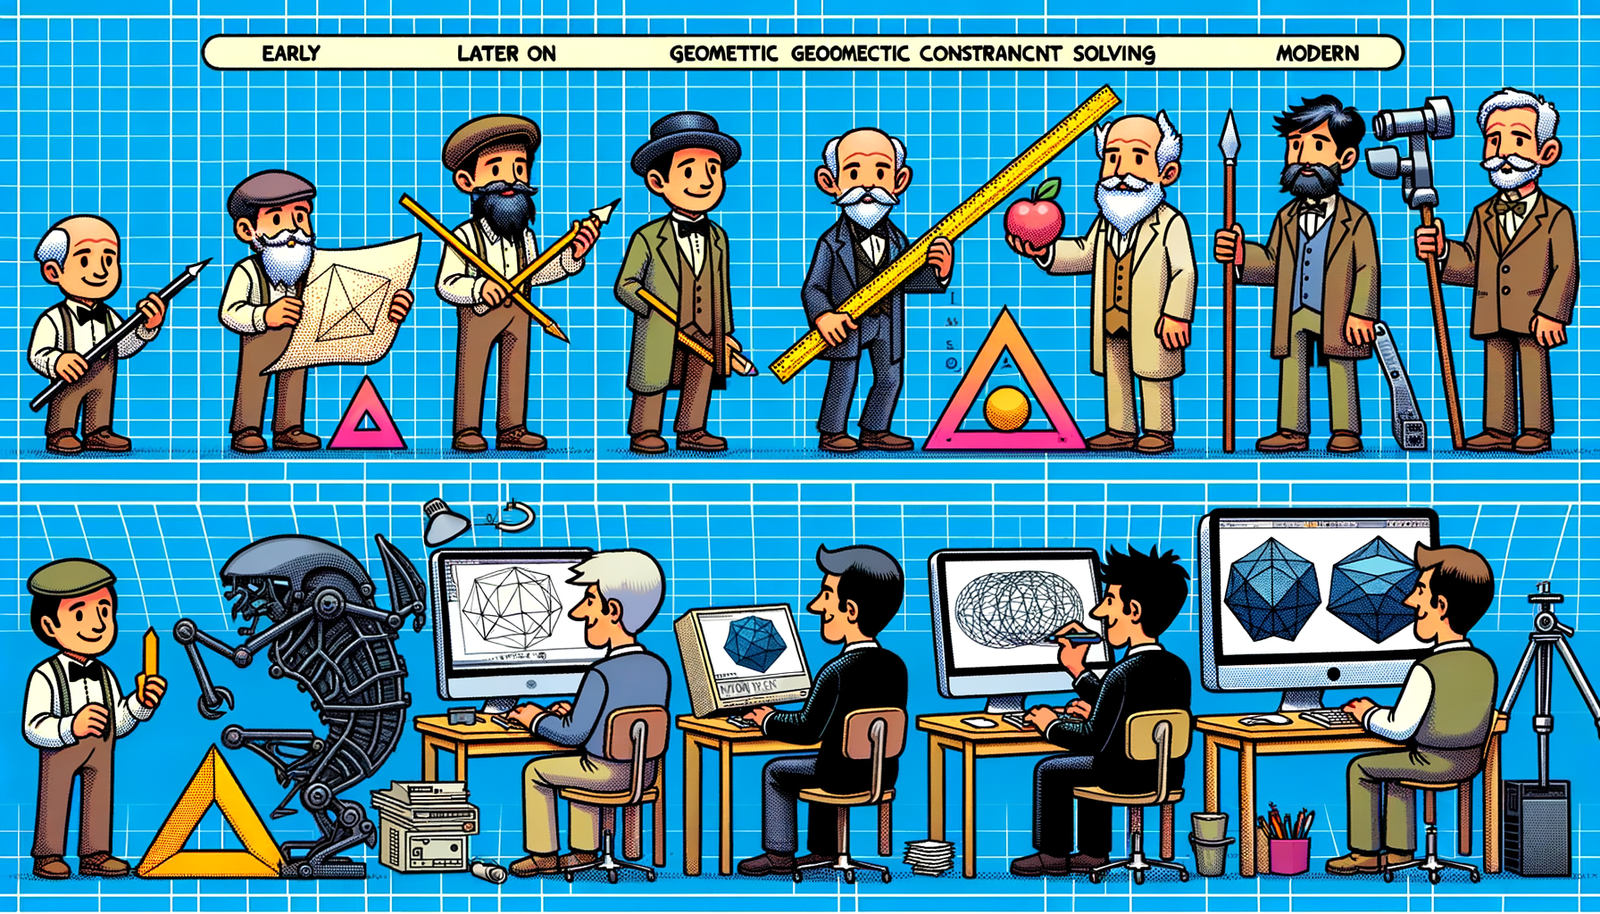
Design Software History: Evolution and Impact of Geometric Constraint Solving in CAD History
December 02, 2024 2 min read
Read More
Rhino 3D Tip: Enhancing Scale Modeling Accuracy in Rhino 3D: Essential Tips for Designers and Engineers
December 02, 2024 2 min read
Read MoreSubscribe
Sign up to get the latest on sales, new releases and more …


