Your Cart is Empty
Master V-Ray: 5 Essential Tutorials for Transforming Your Visualization Skills
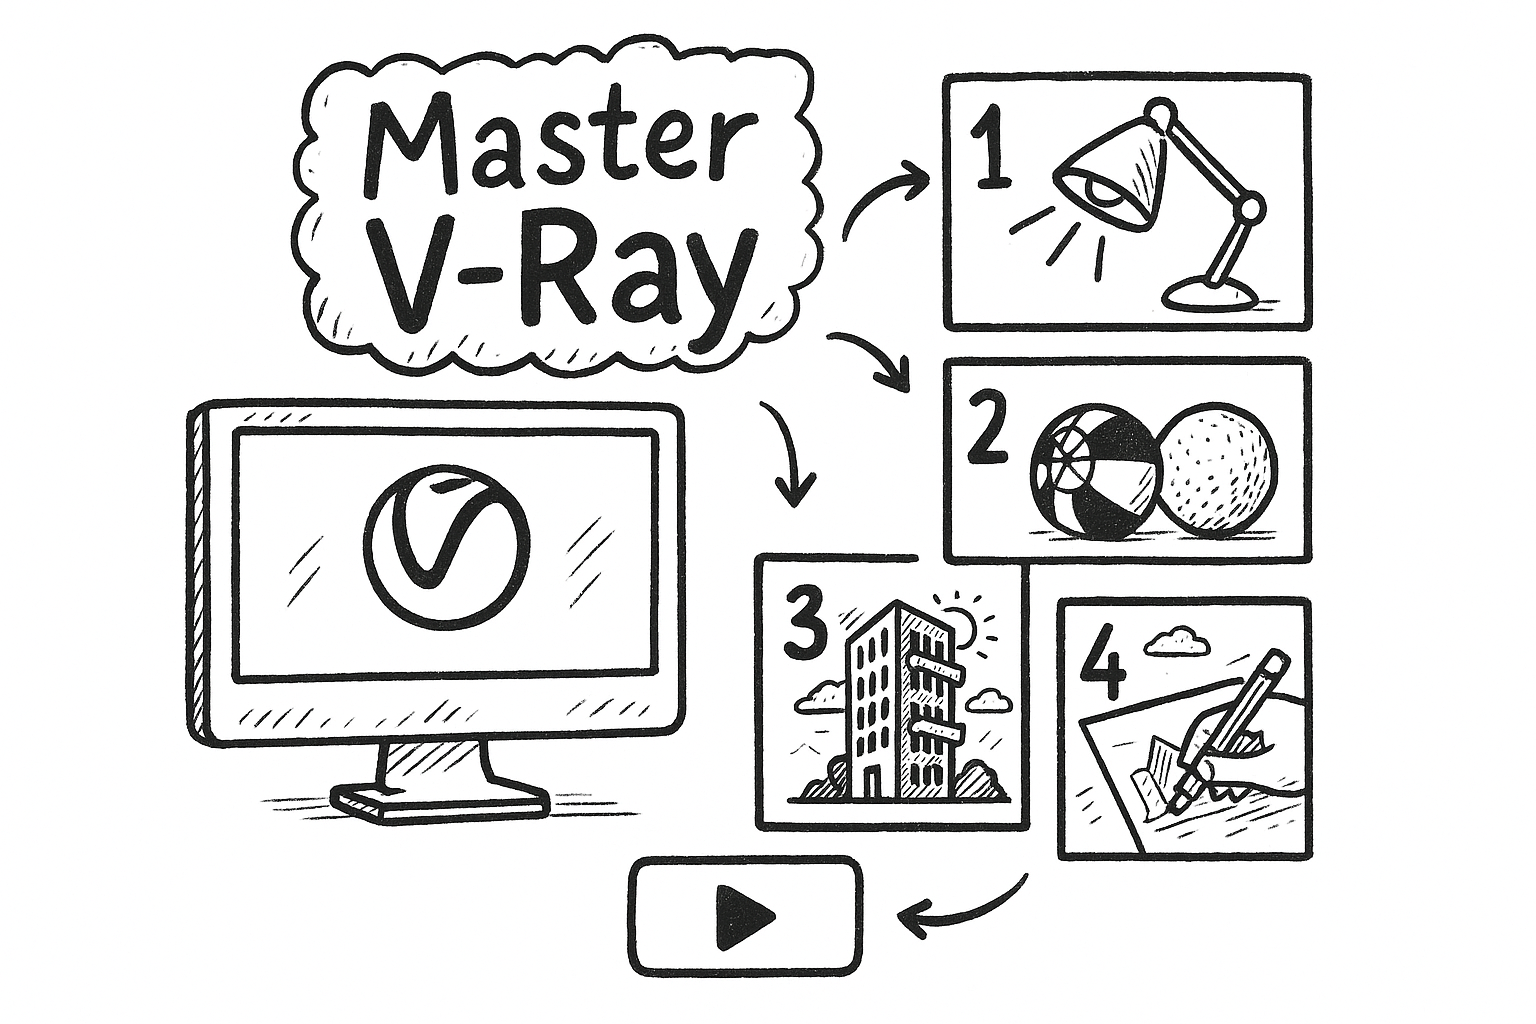


From Overwhelm to Mastery
V-Ray sits at the heart of visualization pipelines from boutique studios to global CGI powerhouses, yet its sheer feature set can appear labyrinthine to newcomers and seasoned artists alike. The following curated learning path distills the renderer’s complexity into five focused, progressively challenging tutorials. Each lesson answers a distinct skill gap, matches a specific software ecosystem, and respects different learning preferences—video walkthroughs, downloadable files, and concise cheat-sheets. Work through them in sequence, pause for deliberate practice, and you will transition from first light setup to orchestrating distributed cloud renders with confidence.
V-Ray Fundamentals: First Photorealistic Interior in SketchUp
Core Takeaways
- Fluent navigation of the V-Ray Asset Editor interface, demystifying tabs for materials, lights, geometry, and render settings.
- Harnessing the AI-assisted Light Gen tool to auto-propose balanced daylight and artificial lighting scenarios, then fine-tuning exposure.
- Assigning physically based materials—reflection, roughness, metalness—while enabling global illumination with Brute Force + Light Cache.
- Calibrating Adaptive Lights to trade finite noise for dramatically reduced render times without visible quality loss.
Why It Matters
SketchUp offers a welcoming modeling UI; placing V-Ray inside this comfort zone accelerates conceptual understanding. Once you visually connect emissive rectangles, soft shadows, and balanced color temperatures, interior lighting theory transforms from guesswork into a repeatable mental model transferrable to any DCC. The principles behind choosing 32-bit HDRI exposure or tweaking white balance at the frame buffer persist whether you later tackle a villa exterior or a jewelry macro.
Recommended Resources
Grab the starter loft scene containing calibrated oak, concrete, and brushed metal materials. The downloadable PDF cheat-sheet lists every knob dialed during the lesson—resolution, denoise presets, Light Cache subdivisions—so you can cross-reference your own experiments.
Estimated Time Commitment
One hour to absorb the step-by-step video, followed by two hours iterating on your personal interior. Reserve a dedicated exploration block: create three camera angles—wide, medium, close-up—and re-light each using differing color temperatures to cement conceptual retention.
Mastering Exterior Daylight with V-Ray for 3ds Max
Core Takeaways
- Deploying the Sun & Sky procedural rig, including animated turbidity, horizon blur, and the new Cloud layer system for parallax-ready skies.
- Generating instant lighting variants using LightMix after a single render, empowering same-day client iterations.
- Crafting multi-layered façade shaders: base plaster, reflective coat, subtle sheen—each weighted in the Physical Material node for energy conservation.
- Employing Chaos Scatter to seed botanically accurate vegetation clusters while respecting slope, altitude, and camera frustum culling.
Why It Matters
The courtyard scene spotlights the newest V-Ray toolset, revealing how to marshal them under real-world deadlines. You will discover a workflow that isolates lighting feedback from geometry or texture edits, shrinking the iteration loop. The result: more nuanced mornings, overcast diffusions, and golden-hour moods—delivered without full re-renders.
Pro Tips Highlighted
The instructor breaks down the performance differential between HDRI domes and the procedural Sun & Sky, correlating noise patterns to render cost. A dedicated segment warns against inadvertent double-gamma when compositing EXR passes in post, showing a practical OCIO configuration to keep linear color space intact.
Advanced Material Creation with V-Ray for Cinema 4D: From Subsurface Skin to Car Paint
Core Takeaways
- Exploiting the node editor to author bespoke BRDF responses—remapping Fresnel curves, linking micro-normal detail, and blending coat layers.
- Integrating VRayDistanceTex and VRayDirt for procedural edge wear without UV fractures, driving curvature masks by object proximity.
- Setting multiple UV tiles: 0-1 base, UDIM leather stitching, and decal masks, then feeding them into a single layered shader with triplanar fallbacks.
Why It Matters
This in-depth primer shatters the misconception that photoreal materials rely solely on megascans. You will build a translucent skin shader that respects both surface scattering radius and epidermal color maps, then pivot to a spectral car paint material with metallic flakes and clearcoat. The exercise unpacks the shader graph slowly, until you can read complex networks like annotated schematics. Once fluent, you will create hero assets capable of surviving lens-tight close-ups for advertising and cinematic projects.
Bonus Content
Download physically calibrated material scans in sRGB and ACEScg variants. Use them to test color pipeline consistency—especially useful if your studio toggles between film and design deliverables.
Real-Time Look Dev with V-Ray for Unreal Engine
Core Takeaways
- Synchronizing models from 3ds Max or SketchUp via the V-Ray Scene Importer, preserving materials, lights, and proxies in one click.
- Comparing GPU light baking against V-Ray’s hybrid path tracer directly in the viewport to strike an equilibrium between quality and interactivity.
- Authoring Blueprint triggers that swap material instances—polished marble, travertine, terrazzo—allowing clients to explore variants during live walkthroughs.
Why It Matters
The boundary between offline and real-time rendering is dissolving. By porting your existing asset library into Unreal Engine, you unlock immersive walkthroughs, configurators, and VR demos without abandoning the physically based shading accuracy V-Ray is famous for. The tutorial exposes the underlying mechanics: how lightmass coefficients compare to brute-force GI, and where hardware ray tracing pays dividends for crystal clarity in glossy reflections.
Performance Checklist
Before diving in, verify you possess an RTX 3080-class GPU or higher, 64 GB RAM, and NVMe storage to prevent shader compile bottlenecks. Inside Unreal, cap the texture streaming pool, enable virtual textures, and keep reflection capture resolution proportional to final display hardware. Adhering to these guidelines sustains 60 fps interactivity even in complex atrium scenes.
Automating Batch Rendering & Cloud Workflows with V-Ray Swarm and Chaos Cloud
Core Takeaways
- Configuring a local Swarm comprised of idle laptops and desktops, mixing CPU and GPU nodes without driver conflicts.
- Writing concise Python snippets to package scenes, enqueue them through the REST API, and parse Swarm logs for failed buckets.
- Extending scripts to target Chaos Cloud, applying cost forecasts, and setting priority tiers so urgent stills pre-empt overnight animations.
Why It Matters
This final tutorial graduates you from artist to pipeline architect. Hand-offs to render farms become deterministic, freeing local machines for modeling and look dev while frames cook elsewhere. By the end, you will wield scaling leverages: spin up cloud nodes during crunch, downscale during lull, and tie expense back to project codes for transparent budgeting. The net effect is **predictable delivery** under even volatile deadline shifts.
Quick-Start Resources
A public GitHub repository provides job submission scripts annotated for clarity—replace only the API key and scene path to see your first automated upload go live. To avoid bill shock, import the accompanying spreadsheet, plug in resolution, GI settings, frame count, and desired turnaround; it immediately predicts compute hours and cost ranges.
Conclusion
Progressing through these five tutorials mirrors the natural evolution of a visualization career: you begin lighting a single SketchUp room, graduate to site-wide daylight control, dive into high-fidelity materials, cross the threshold into real-time experiences, and finally orchestrate distributed rendering at scale. Schedule focused practice blocks after each lesson—ideally within 24 hours—to reinforce muscle memory. Record every render setting that yields a breakthrough: sampling thresholds, tonemap curves, even failed experiments. Over time, this self-curated knowledge base becomes an indispensable reference, shortening every future project’s path from concept to stunning pixel-perfect imagery.
Also in Design News