Your Cart is Empty
Customer Testimonials
-
"Great customer service. The folks at Novedge were super helpful in navigating a somewhat complicated order including software upgrades and serial numbers in various stages of inactivity. They were friendly and helpful throughout the process.."
Ruben Ruckmark
"Quick & very helpful. We have been using Novedge for years and are very happy with their quick service when we need to make a purchase and excellent support resolving any issues."
Will Woodson
"Scott is the best. He reminds me about subscriptions dates, guides me in the correct direction for updates. He always responds promptly to me. He is literally the reason I continue to work with Novedge and will do so in the future."
Edward Mchugh
"Calvin Lok is “the man”. After my purchase of Sketchup 2021, he called me and provided step-by-step instructions to ease me through difficulties I was having with the setup of my new software."
Mike Borzage
Cinema 4D Tip: Efficiently Creating Animated GIFs from Cinema 4D for Social Media Sharing
September 21, 2024 2 min read

Creating animated GIFs directly from Cinema 4D can be a fantastic way to showcase your work in a compact, shareable format. By following a few simple steps, you can effectively convert your 3D animations into attention-grabbing GIFs perfect for social media sharing.
Here’s a quick guide to help you create animated GIFs from Cinema 4D:
1. Optimize Your Animation
- Keep It Short: GIFs are best suited for short animations. Aim for a duration of 3-5 seconds to keep the file size manageable and the viewer engaged.
- Loop Seamlessly: Ensure your animation loops smoothly. This can be achieved by matching the start and end frames or by creating a cyclic animation.
2. Render Settings
- Frame Rate: Set the frame rate to 24 or 30 frames per second (fps) for smooth playback.
- Resolution: For social media, a resolution of 640x360 or 800x450 is usually sufficient. Larger resolutions will increase the file size.
- Output Format: Render your animation as a PNG sequence or a QuickTime movie. PNG sequences are preferable as they provide better quality and allow for easier editing.
3. Rendering the Animation
- Open the Render Settings and configure the output path for your frames.
- Choose PNG as the output format if you want a sequence of images.
- Set the frame range to match the duration of your animation.
- Click Render to Picture Viewer to start rendering your frames.
4. Converting to GIF
Once you have your rendered frames, you’ll need to convert them into a GIF format. There are various tools available for this purpose:
- Adobe Photoshop: Import your image sequence and use the “Save for Web” feature to export as a GIF.
- Online Converters: Websites like ezgif.com and Imgflip offer quick and easy conversion tools.
5. Reducing File Size
- Limit Colors: Reducing the number of colors can significantly decrease the file size without a noticeable loss in quality.
- Optimize Frames: Some frames can be removed to reduce the size while still maintaining smooth playback.
- Compression Tools: Use tools like ImageOptim or Compressor.io to further compress your GIF.
6. Sharing Your GIF
Once your GIF is ready, you can share it across various social media platforms to showcase your work. Ensure you give credit to the tools and resources you've used, such as mentioning NOVEDGE for any Cinema 4D needs.
By following these steps, you can create captivating animated GIFs from Cinema 4D, ready to be shared and appreciated by a wider audience. Happy animating!
You can find all the Cinema 4D products on the NOVEDGE web site at this page.
Also in Design News

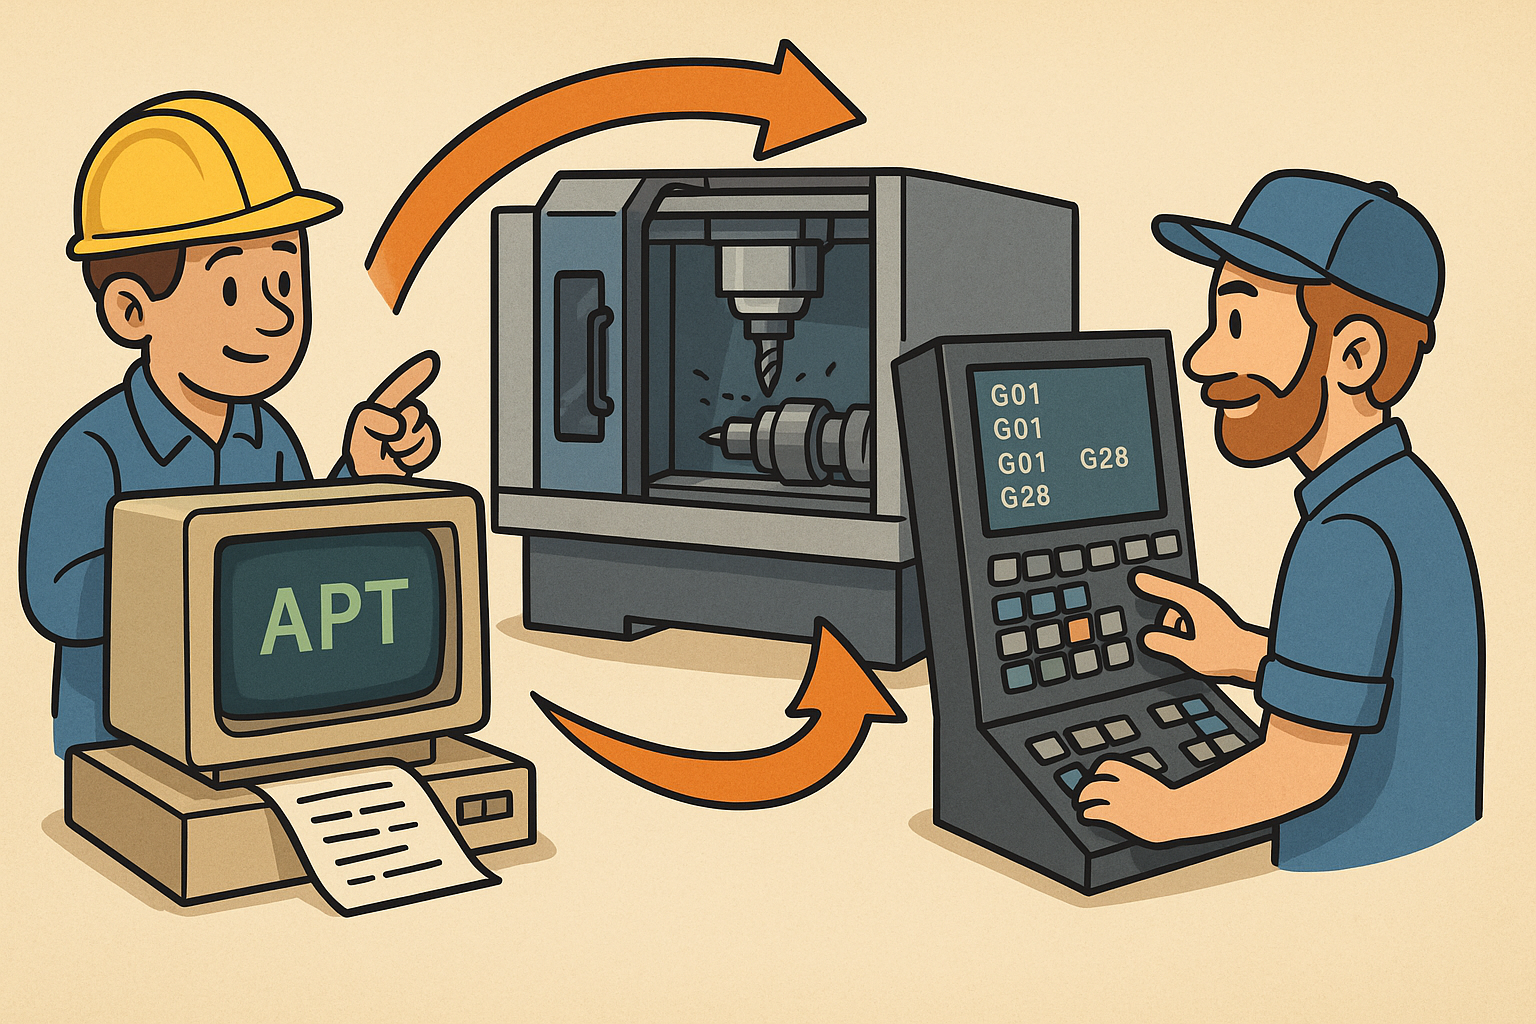
Design Software History: APT to G‑Code Dialects: The Evolution and Persistence of Vendor‑Specific CNC Post‑Processing
January 06, 2026 11 min read
Read More
Real-time CFD for Design Reviews: Progressive Solvers, GPU Pipelines, and Uncertainty-Aware Collaboration
January 06, 2026 12 min read
Read More
Cinema 4D Tip: Weight Manager Workflow for Fast, Stable Character Skinning
January 06, 2026 2 min read
Read MoreSubscribe
Sign up to get the latest on sales, new releases and more …


